Adding and Preparing Forms
-
Optionally, use the Customer Filter to search for a customer account.
-
In the company dashboard, click a customer tile to access the customer account.
-
Click the expand tile arrow
 on a payer tile.
 -
Click the expand tile arrow
on a recipient tile. -
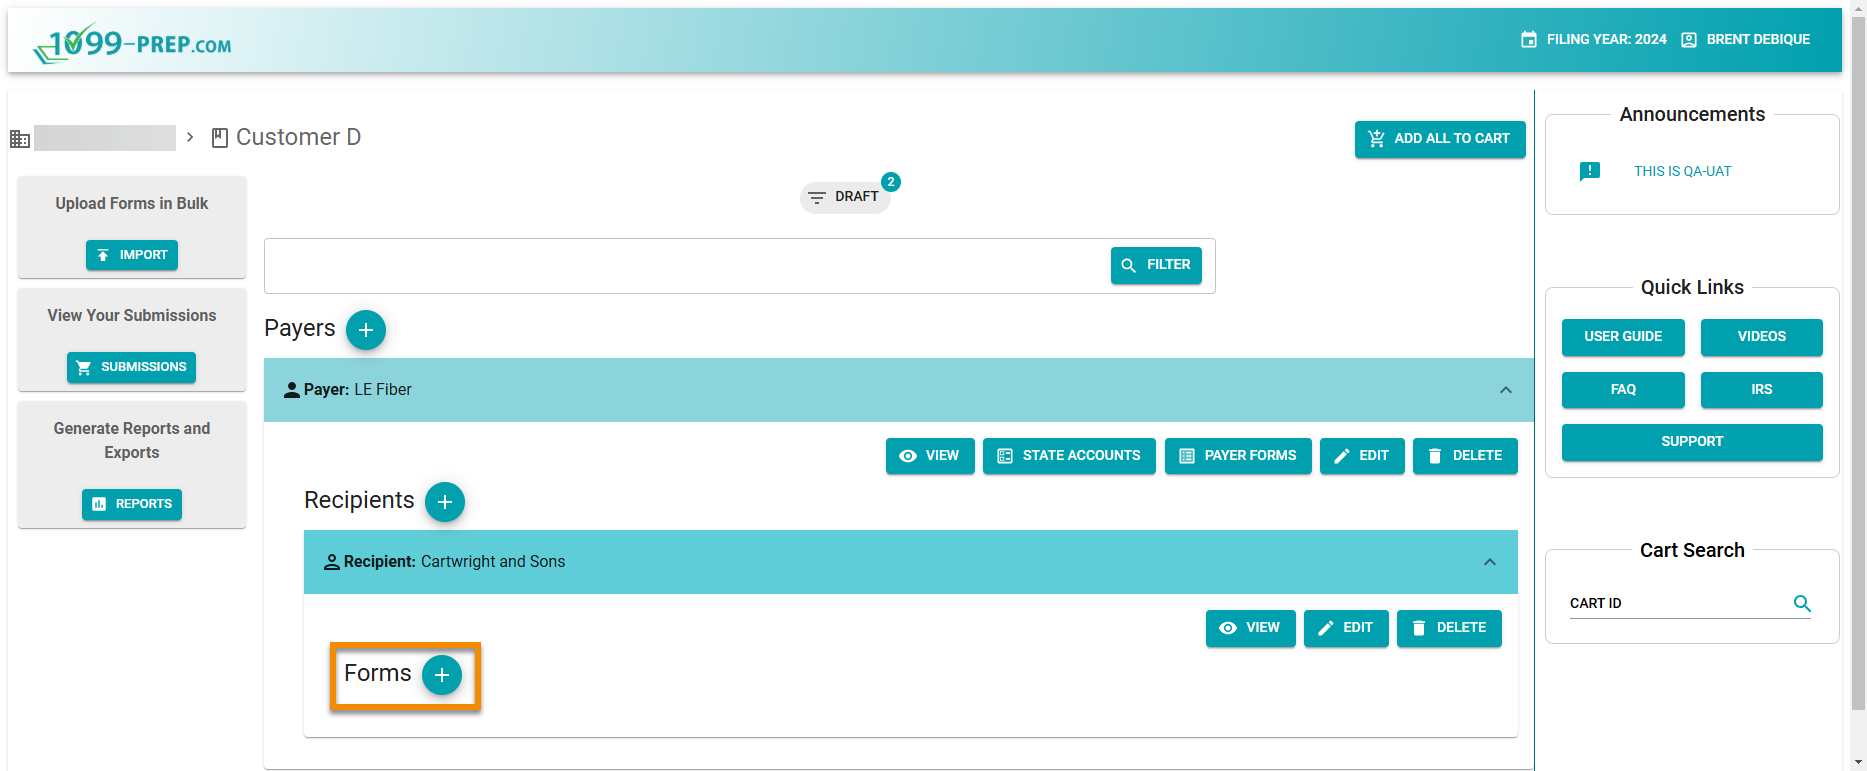
In the recipient tile, click the
 icon next to Forms.
-
In the Add New Form prompt, select a Form Type from the drop-down menu.

-
Click SELECT FORM TYPE. The form fields displays in a new prompt (see example image below).

-
Fill out form fields as necessary.
NOTE: Some tax form fields have icons next to them that allow you to add pre-configured information to the field (i.e., 1042-S and W-2 forms). Icons are:
-
 Manage State: Click to add pre-configured state information to the field (see Manage State Accounts).
 -
 Manage Recipient: Click to add pre-configured recipient information to the field (see Recipient Field Definitions).
 -
 Manage Payer / Manage Withholding Agent: Click to add pre-configured payer information to the field (see Additional Payer Information and Withholding Agent Field Definitions (W-2 and 1042-S Filers)).
Pre-configured information is typically set from the payer or recipient profiles using the Edit icon:  .
.
-
Click SAVE.
The form is listed as a tile under the recipient in the "Draft" status.
Once forms are completed, add the to the cart for payment and submission (see Cart and Payment).