Importing New Tax Data
If you have new tax data (i.e., payers, recipients, or tax forms of customer account is not in 1099-Prep), you can export an tax form template, enter your tax data in the template, and import the tax data in the template into the customer account.
To import data from a template file, do the following:
-
Export a tax form template file. Ensure the template contains all tax form types you need.
NOTE: The tax form template is a spreadsheet file that can be opened in Microsoft Excel.
-
Enter tax data in the tax form template and save it to your computer.
NOTE: See Using Tax Form Templates for how to complete data form templates before importing. Incorrectly formatted data can cause imports to fail.
-
Use the Customer Filter to search and access the customer account that you need to import tax data.

-
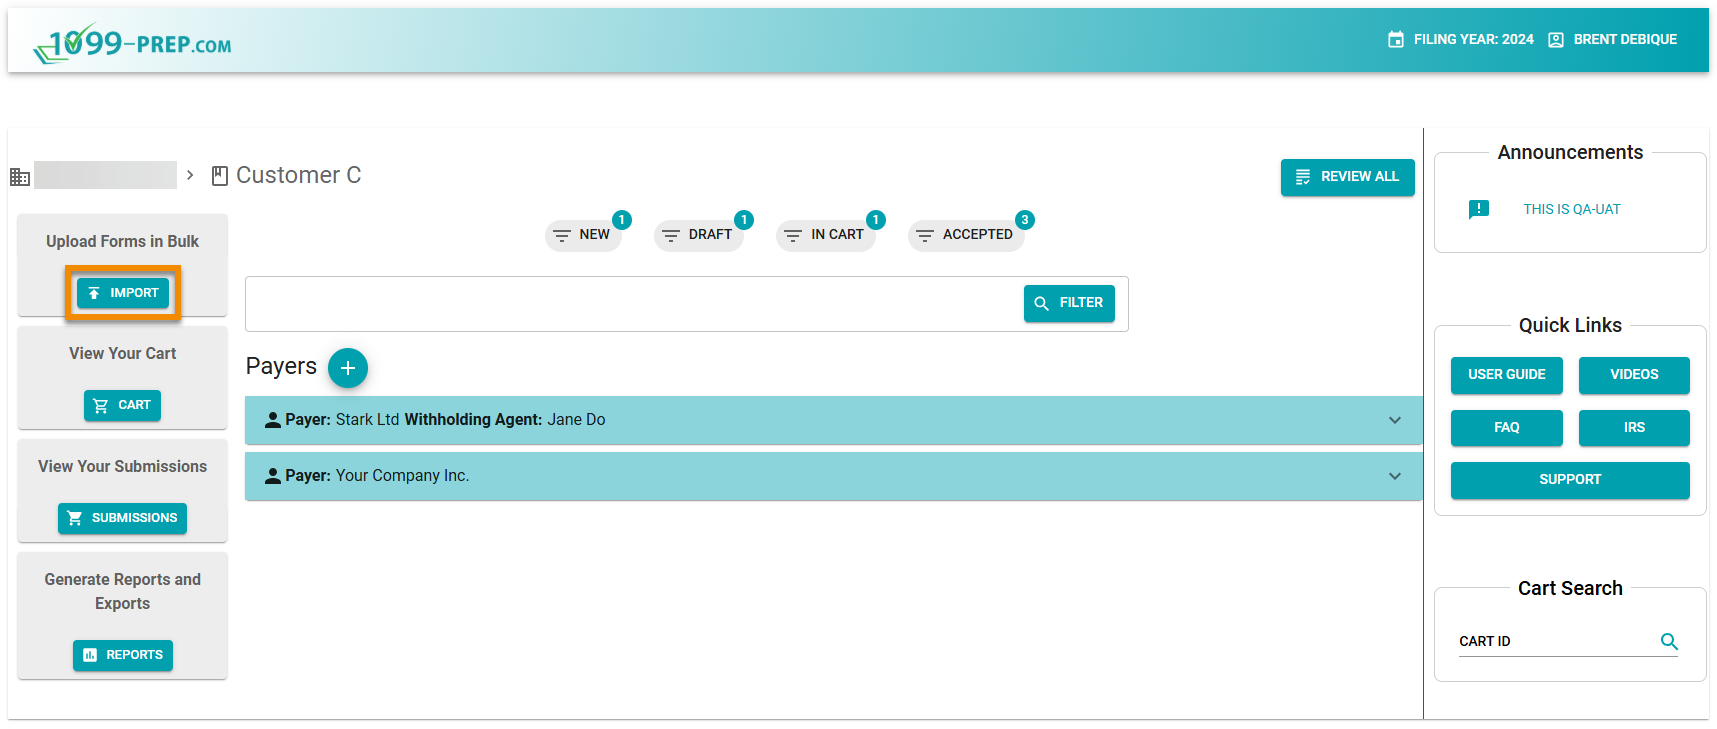
In the customer's dashboard, click IMPORT in the Upload Forms in Bulk panel to open the Import prompt.
-
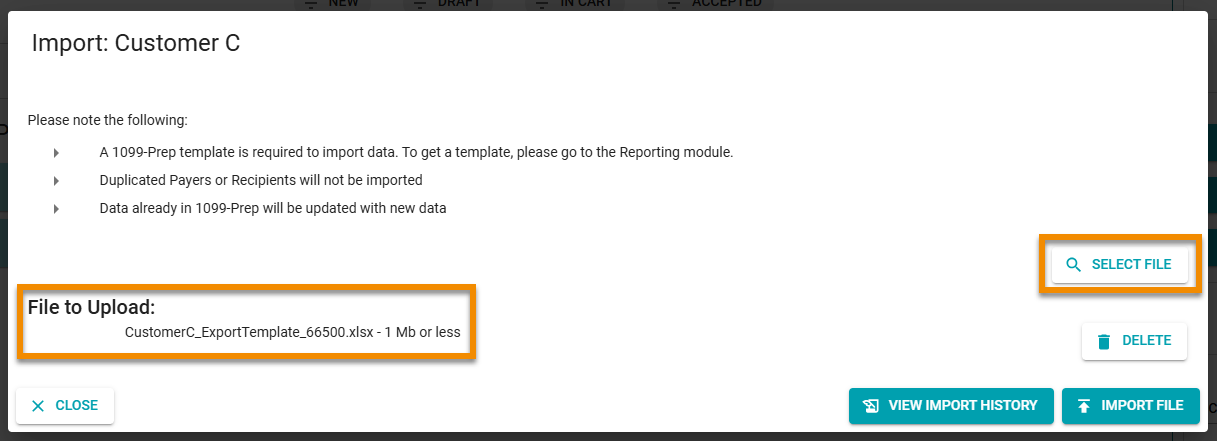
Click SELECT FILE in the Import prompt, navigate to template file you exported from 1099-Prep, and open the file. The spreadsheet displays in the prompt.
NOTE: You can upload multiple template files of different form types. 1099-Prep will import rows in each template file as a separate tax form.
-
Click the IMPORT FILE in the Import prompt.
-
Click PROCEED in the confirmation prompt. The Import History Template prompt displays.
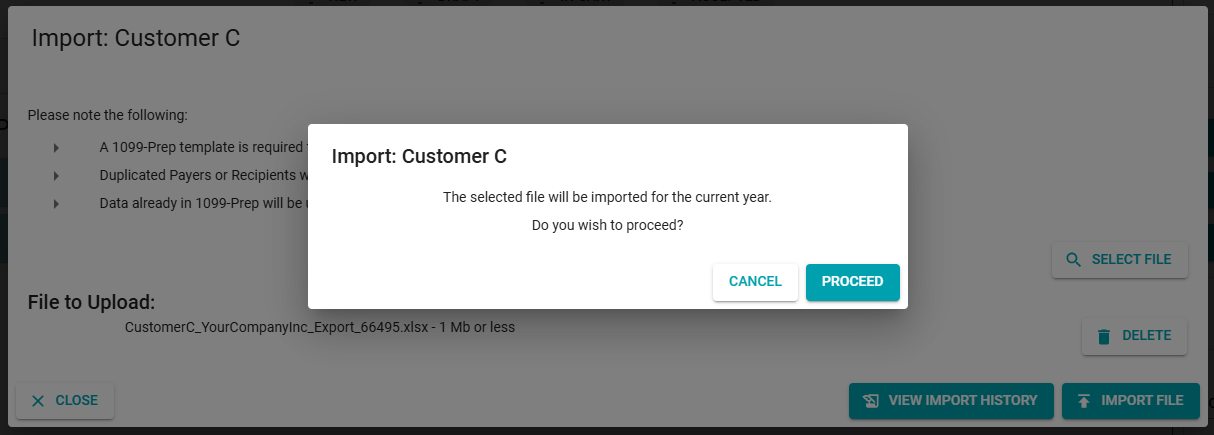
NOTE: The Import History Template prompt tracks the progress of the import. Any successes, partial successes, or failures to import are logged in the prompt (see Import History).
See Resolving Import Failures when imports partially fail or completely fail.
The payer, recipient, and form data are imported from the template file into the customer dashboard for the current filing year.
As necessary, you can edit forms and update payers and recipients in the customer account.
To see a log of recent imports, use Import History.